Difference between revisions of "Installation"
| Line 1: | Line 1: | ||
__NOTOC__ | __NOTOC__ | ||
| − | PanelForge is distributed as an | + | PanelForge is distributed as an intuitive Installer Executable. After installation PanelForge can be opened via the 'PanelForge' item added to the 'Windows Start Menu'. |
Major PanelForge versions (3.0, 2.0, 1.X) can be installed concurrently. Each version will use independent settings. | Major PanelForge versions (3.0, 2.0, 1.X) can be installed concurrently. Each version will use independent settings. | ||
Latest revision as of 14:16, 10 August 2021
PanelForge is distributed as an intuitive Installer Executable. After installation PanelForge can be opened via the 'PanelForge' item added to the 'Windows Start Menu'.
Major PanelForge versions (3.0, 2.0, 1.X) can be installed concurrently. Each version will use independent settings.
'PanelForge Studio' is also provided as a simple zip compressed directory for flexibility allowing multiple versions to be accessed simply in a Studio environment.
Preparation
Make sure the target computer system reaches the minimum System Requirements. Carefully refer to this PanelForge documentation when required.
The PanelForge software is provided in two forms:
- PanelForge-3_X_X-Win64.exe - A Windows installer executable that will install the PanelForge Program directory and register the PanelForge executable with Windows.
- PanelForge-3_X_X-Win64.zip - (Studio version only) A compressed directory containing the PanelForge Program directory. Contains a ‘PanelForge.exe’ executable that can be run directly without the need for installation.
Standard Windows Installation
If you have already installed a previous version of ‘PanelForge’ you will be prompted for it to be uninstalled before continuing.
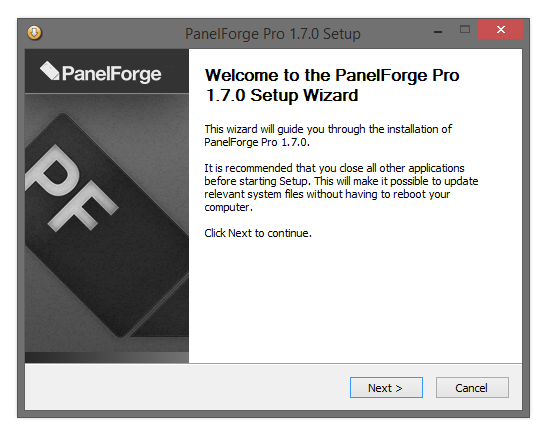
- First 'double click' the PanelForge-3_X_X-Win64.exe installer executable file icon.
- Then simply follow the simple on-screen instructions.
The installer will install the following items:
- The PanelForge program directory (default into the Windows ‘ProgramFiles’ directory).
- A Shortcut to the PanelForge executable and uninstaller executable into the Windows Start Menu.
- Registry entries for PanelForge Project ‘pfz’ and Panel ‘pfn’ file format association.
- Registry entries for PanelForge Project and Panel file format icons for use in Windows Explorer.
- Registry entry for PanelForge uninstaller for use with the ‘Uninstall a Program’ Windows Control Panel.
Silent Windows Command Line Installation
The above installer executable can also be used via the Windows Command Prompt without the display of graphical windows. This mode can be activated using ‘/S’ silent flag.
Portable Windows Installation ('Studio' version only)
First, decompress the PanelForge-3_X_X-Win64.zip file, then open the ‘panelforge.exe’ Windows executable file in the decompressed PanelForge Program directory.
Using this installation method for a permanent solution is not recommend as it will not provide the optimal experience with the Windows operating system.
Uninstallation
First, exit PanelForge if open before proceeding with uninstallation.
To uninstall PanelForge the Windows 'Uninstall or Change a Program' Control Panel can be used. The following instructions refer to Windows 7, under other versions of Windows the method may vary.
- Open the Windows 'Control Panels' using the start menu item.
- Select the 'Uninstall a program' item.
- In the 'Uninstall or change a program' window double click the 'PanelForge (Studio/Pro)' item from the list.
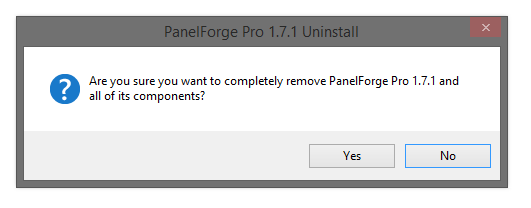
- Select ‘Yes’ when prompted to uninstall 'PanelForge (Studio/Pro).
- You have now have successfully uninstalled 'PanelForge (Studio/Pro)’.


